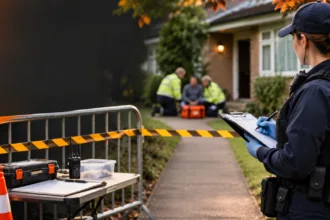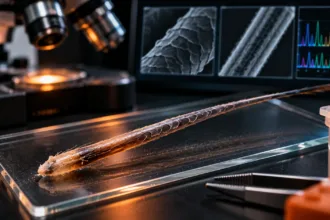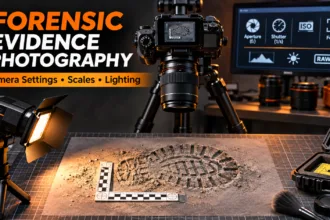
Crime scene contaminationContamination - The unwanted transfer of material from another source to a piece of physical evidence. The inadvertent touching of a weapon, thereby adding fingerprints to it is an example of evidence contamination. Read Full Definition prevention is not simply a matter of wearing gloves. It is a coordinated system of scene access control, carefully planned movement, protective clothing, clean tools, evidence-specific sampling, secure consumables and transparent records. Each activity can either preserve an evidential trace or introduce, remove or redistribute material that later becomes difficult to explain.
- What counts as contamination at a crime scene?
- Scene assessment and contamination risk planning
- Crime scene zoning: clean, transition and examination areas
- Personal protective equipment (PPE): what protects the evidence?
- Glove changes and reusable tools: where cross-transfer often happens
- Forensic DNA-grade consumables: what ISO 18385 does and does not mean
- Collection sequence, linked persons and multiple scenes
- Contamination-control sampling and elimination DNA references
- How to respond when contamination is suspected
- Evidence types require different contamination controls
- Three hypothetical contamination scenarios with practical decisions
- Field checklist: preventing crime scene cross-contamination
- Common misconceptions about crime scene contamination
- Frequently asked questions
- Related Simply Forensic guides
- References and authoritative sources
The challenge is greatest with sensitive DNA DNA, or Deoxyribonucleic Acid, is the genetic material found in cells, composed of a double helix structure. It serves as the genetic blueprint for all living organisms. Read Full Definition methods, but contamination is not confined to DNA. Footwear traces can be carried between rooms; fibers may move on clothing; fingerprintsFingerprint, impression made by the papillary ridges on the ends of the fingers and thumbs. Fingerprints afford an infallible means of personal identification, because the ridge arrangement on every finger of every human being is Read Full Definition may be unintentionally deposited on handled objects; and particles or chemicals from collection equipment can interfere with later analysis. The forensic aim is to reduce avoidable contamination to a practicable minimum and preserve an auditable history, not to promise a sterile crime scene.[1][2]
This guide addresses field practice: PPE, clean and dirty zones, equipment management, cross-transfer between items or scenes, detection of contamination events, and corrective actions. Laboratory quality-control procedures are covered separately in our forensic DNA contamination-control guide.
What counts as contamination at a crime scene?
DNA and other trace materials can reach an exhibit through several pathways. Direct introduction occurs when an investigator sheds biological material onto a target surface or touches it with contaminated gloves. Indirect transfer occurs when material passes through an intermediate surface, glove, tool or item. Material can also move between locations when investigators share equipment, reusable scales, protective clothing or vehicles. The UK Forensic Science Discover the fascinating field of Forensic Science, the application of scientific principles to legal matters. This post delves into its many disciplines, from DNA analysis to crime scene investigation, its importance in the justice system, Read Full Definition Regulator identifies practitioner-derived DNA, contaminated consumables and location-to-location transfer as principal scene-contamination risks.[1]
Investigators must also differentiate pre-existing background DNA from DNA introduced after a controlled forensic examination begins. A door handle may already contain biological material from numerous legitimate users. No cleanup procedure can reconstruct the original background profile without changing the evidence Evidence is any form of proof, such as objects, materials, or scientific findings, presented to establish or disprove a fact in a legal proceeding. It is used to reconstruct events and link or exclude individuals Read Full Definition. The role of scene controls is to minimize new interference and enable a later evaluation of plausible transfer mechanisms, rather than to presume that every minor allele
 Alleles are different forms of a gene resulting from mutations or variations in the DNA sequence or gene expression. They can be dominant (expressed with one copy) or recessive (expressed only with two copies). Read Full Definition is contamination.[1][9]
Four common contamination pathways
- Practitioner to exhibit: contact with exposed skin or a glove contaminated by touching a face, phone, radio or other item.
- Exhibit to exhibit: material transferred while handling or processing multiple objects with the same gloves, workspace or instruments.
- Location to location: particles or DNA transported on footwear, coveralls, tools or vehicle interiors between rooms, scenes or related persons’ possessions.
- Consumable or equipment to exhibit: DNA or trace material already present on sampling swabs, storage containers, photographic scales or reusable examination tools.[1][8]
A useful risk assessment asks three questions: what could move, where could it move, and which planned action creates the pathway? Controls should then be chosen for those specific risks instead of copied mechanically from an unrelated incident.
Scene assessment and contamination risk planning
The scene manager should identify likely trace-bearing areas, hazardous conditions, access paths, urgent evidence risks and anticipated examination methods before large-scale movement begins. Contamination planning applies to linked scenes as well as individual rooms: an investigator moving from a suspect’s residence to a complainant’s vehicle may create a connection between exhibits that were previously independent.[1][2][5]
Record whether an area is heavily contaminated with biological material, whether dry particles could become airborne, whether wet surfaces could smear or spread material, and whether the same equipment or personnel are scheduled to attend connected locations. Plans should be reviewed when scene conditions change, new evidence is identified, or emergency responders need to enter. Risks to personal safety require a separate hazard assessment; evidence-protection PPE is not a substitute for proper respiratory, chemical, sharps or structural safety controls.
| Critical control point | Example failure | Risk-based control | Required record |
|---|---|---|---|
| Entry and exit | Footwear carries soil or trace particles between rooms | Define pathways, zone transitions and protective footwear changes when justified | Entry log and scene plan |
| PPE handling | Gloves contact a radio and then a sampled surface | Change outer gloves or follow an approved decontamination process | Significant deviations or incidents |
| Sampling | A tool touches multiple items | Use separate single-use tools or demonstrated effective cleaning | Sample and tool records |
| Equipment reuse | Unclean scale contacts items at several scenes | Validated cleaning, controlled storage and traceable logs | Cleaning log |
| Packaging | Loose material escapes or items contact one another | Appropriate separate primary packaging | Exhibit identification and packaging condition |
Crime scene zoning: clean, transition and examination areas
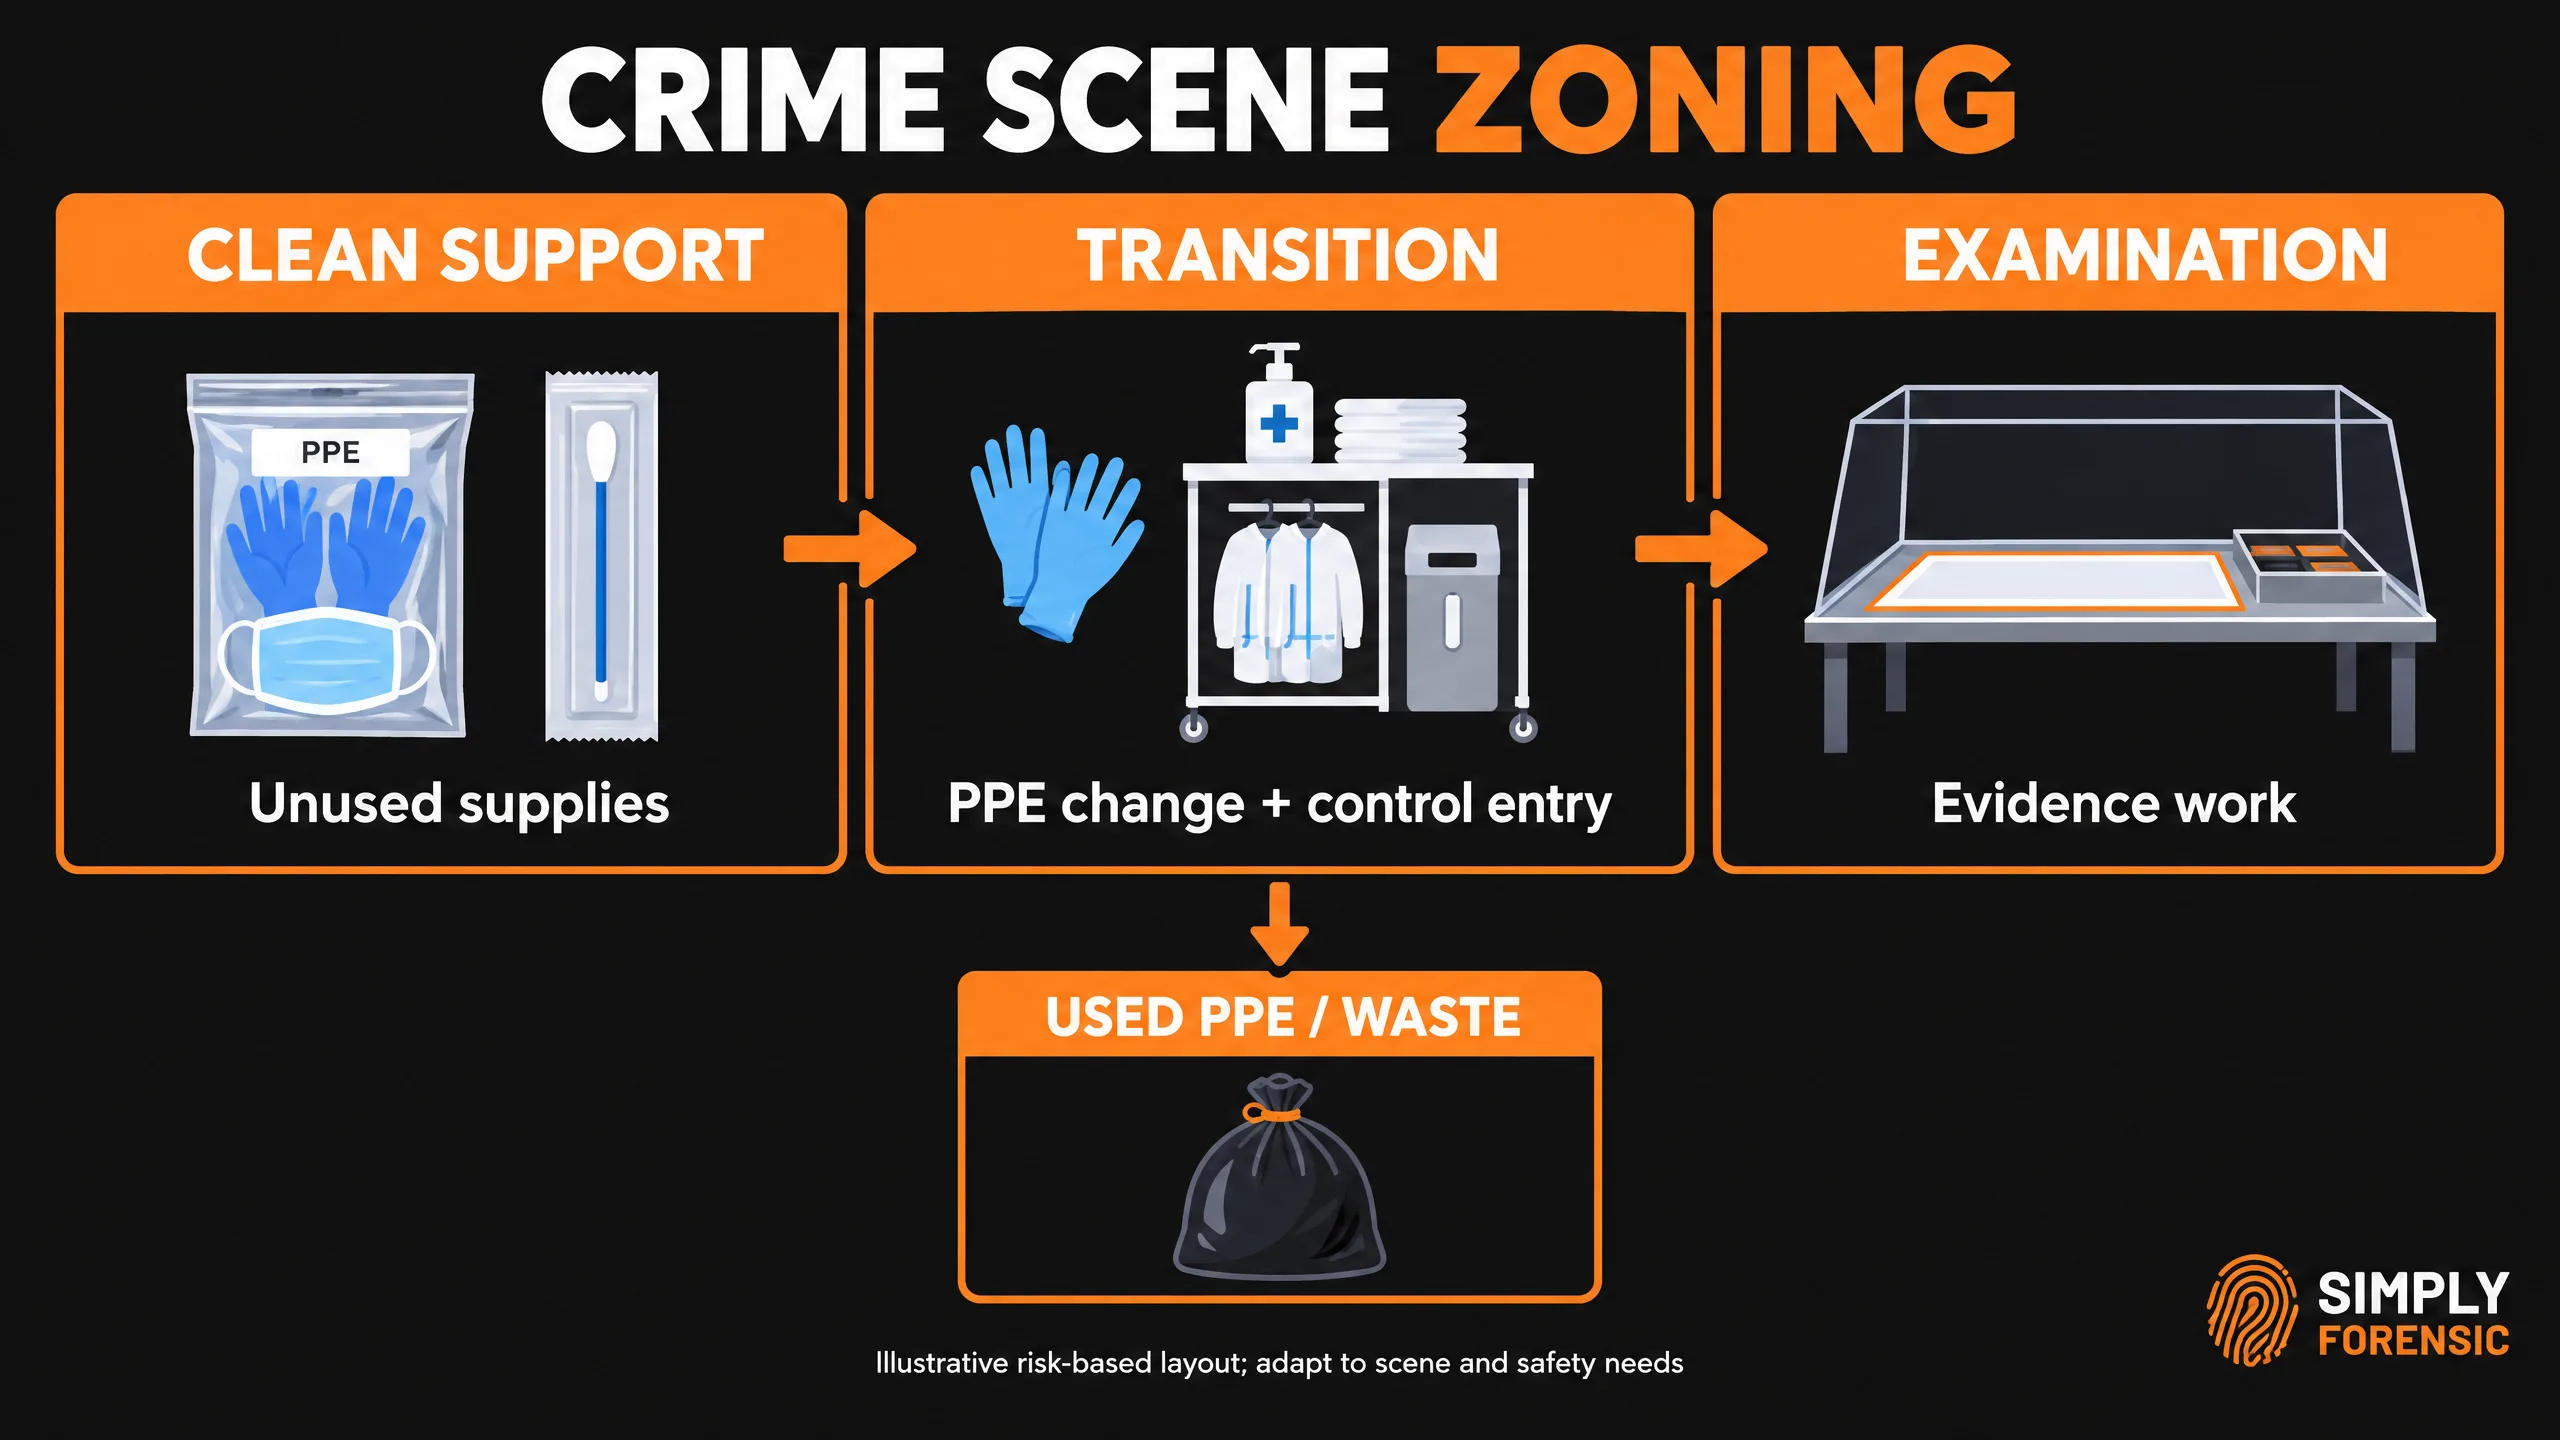
Scene zoning separates functions and guides the movement of people, unused consumables, used PPE and recovered exhibits. It is a practical planning model rather than a mandatory three-zone layout for every investigation. The FSR guidance calls for identified approach routes, protected areas for clean equipment and packaging, and distinct locations for contaminated waste and PPE removal. An actual scene may need multiple subzones, separate access points or specialist hazardous-material exclusion zones.[1]
Clean support zone
This area is outside the working evidence environment. Unused swabs, gloves, sealed sampling kits, clean packaging and administrative forms are stored or prepared here. Keep dirty equipment, used gloves, open exhibits, food and personal belongings out of this space. ‘Clean’ means managed for contamination risk, not proven free of every trace of DNA.
Transition or PPE change zone
Establish a controlled location for donning protective clothing, changing gloves, checking equipment, leaving used PPE and moving sealed exhibits out. Clear signs and a route reduce accidental movement from contaminated to clean functions. An entry tent may be useful at major scenes, but a small scene may use a designated boundary and documented procedure rather than a full tent system.[1]
Examination zone and high-priority subzones
The protected working area contains surfaces and exhibits under examination. Within it, a bedroom, vehicle, storage space or visibly stained area may need extra separation. Avoid moving repeatedly between areas linked to different people or propositions. Where feasible, process sensitive trace-bearing areas early, segregate relevant examiners or schedule different parts of the scene sequentially. Revisit the zoning plan when the examination changes.
Illustrative flow: sealed clean kit → controlled PPE change → planned examination path → secure evidence package → designated exit. Waste and used PPE follow their own exit route. The direction and boundaries must accommodate emergencies; they should never prevent rescue or safe evacuation.
Personal protective equipment (PPE): what protects the evidence?
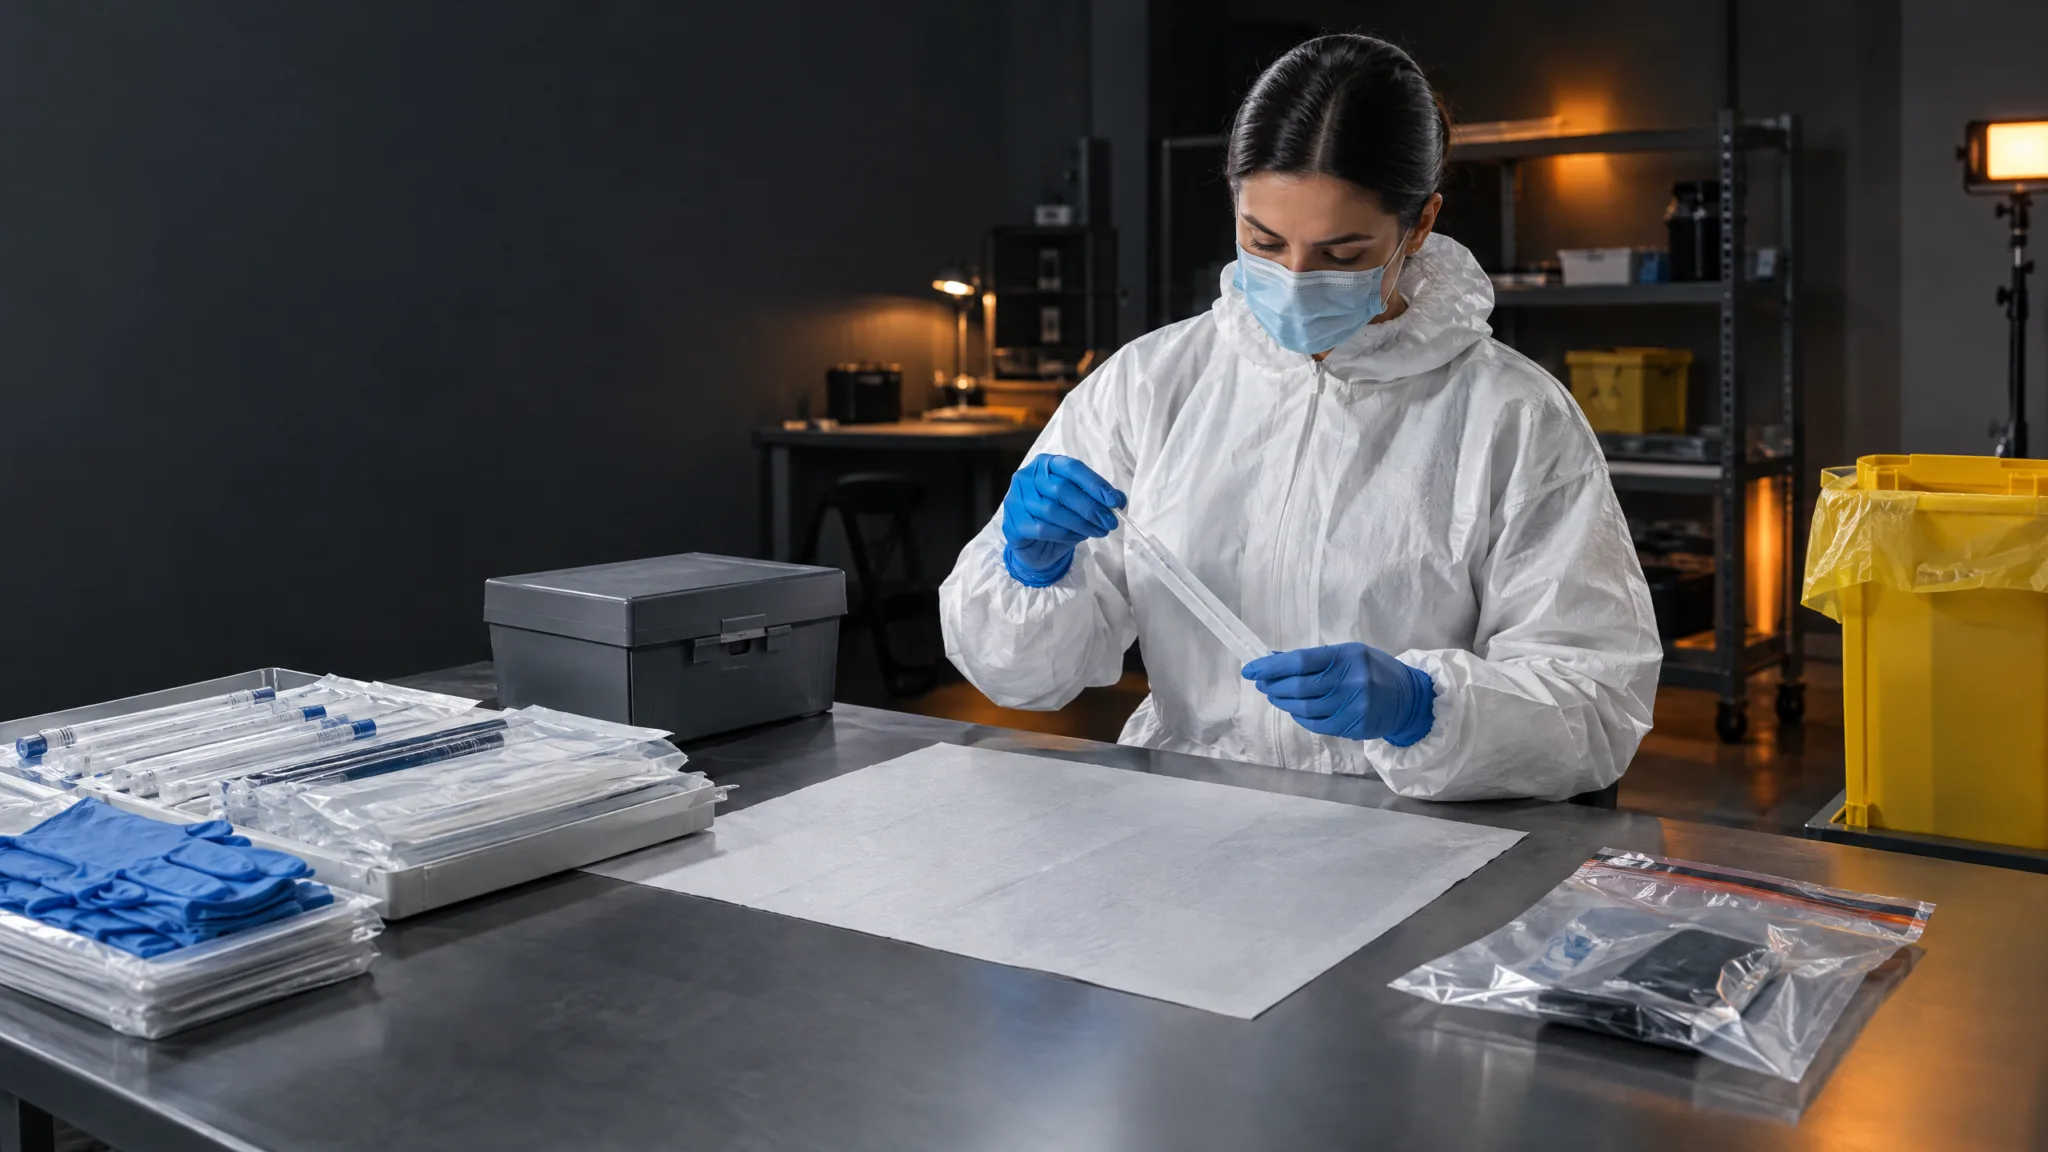
PPE reduces biological shedding and cross-contact, but its effectiveness depends on fit, handling and replacement. It can itself become a transfer surface. The UK FSR’s DNA-specific incident-scene guidance recommends a face mask and two glove layers as a minimum where DNA is being recovered, with head covering, scene suit and footwear protection depending on risk. This is a guidance recommendation for a defined activity, not a worldwide rule requiring identical PPE for every crime scene.[1]
- Disposable nitrile gloves: control direct touch. Change the outer pair between independent evidence sources and after contacting non-controlled surfaces.
- Face mask: reduces direct droplets and saliva aerosol deposition while working over sensitive exhibits. Avoid unnecessary talking directly above sampling areas.
- Head or hair covering: reduces shedding of hair and skin scales where such material could affect the examination.
- Scene suit or protective garment: can limit transfer from clothing, but a worn suit may carry material between zones or sites; replacement or removal must follow the risk assessment.
- Footwear covers or dedicated footwear: help control movement of particles when floor traces and room-to-room transfer matter. They must be removed or replaced at the appropriate boundary.
- Eye, respiratory or chemical protection: chosen primarily by occupational safety assessment; the need for a respirator cannot be inferred merely from DNA contamination concerns.
Putting PPE on and removing it
The FSR describes a recommended sequence beginning with face covering before the scene suit and gloves, then a head covering where needed, first gloves, suit, footwear protection and outer gloves. The reason for early mask application is to avoid adjusting a potentially contaminated mask using already-protected hands. Removal is managed at the designated exit to avoid transferring material into clean areas.[1] Agencies should document their own donning/doffing procedure, including adaptations needed for safety.
Gloves do not sterilize hands or objects. An experimental casework study showed that gloves can acquire both examiner-derived and exhibit-derived DNA while examining items. Their use is therefore a control that needs active maintenance, not permission to touch several exhibits with the same pair.[8]
Glove changes and reusable tools: where cross-transfer often happens
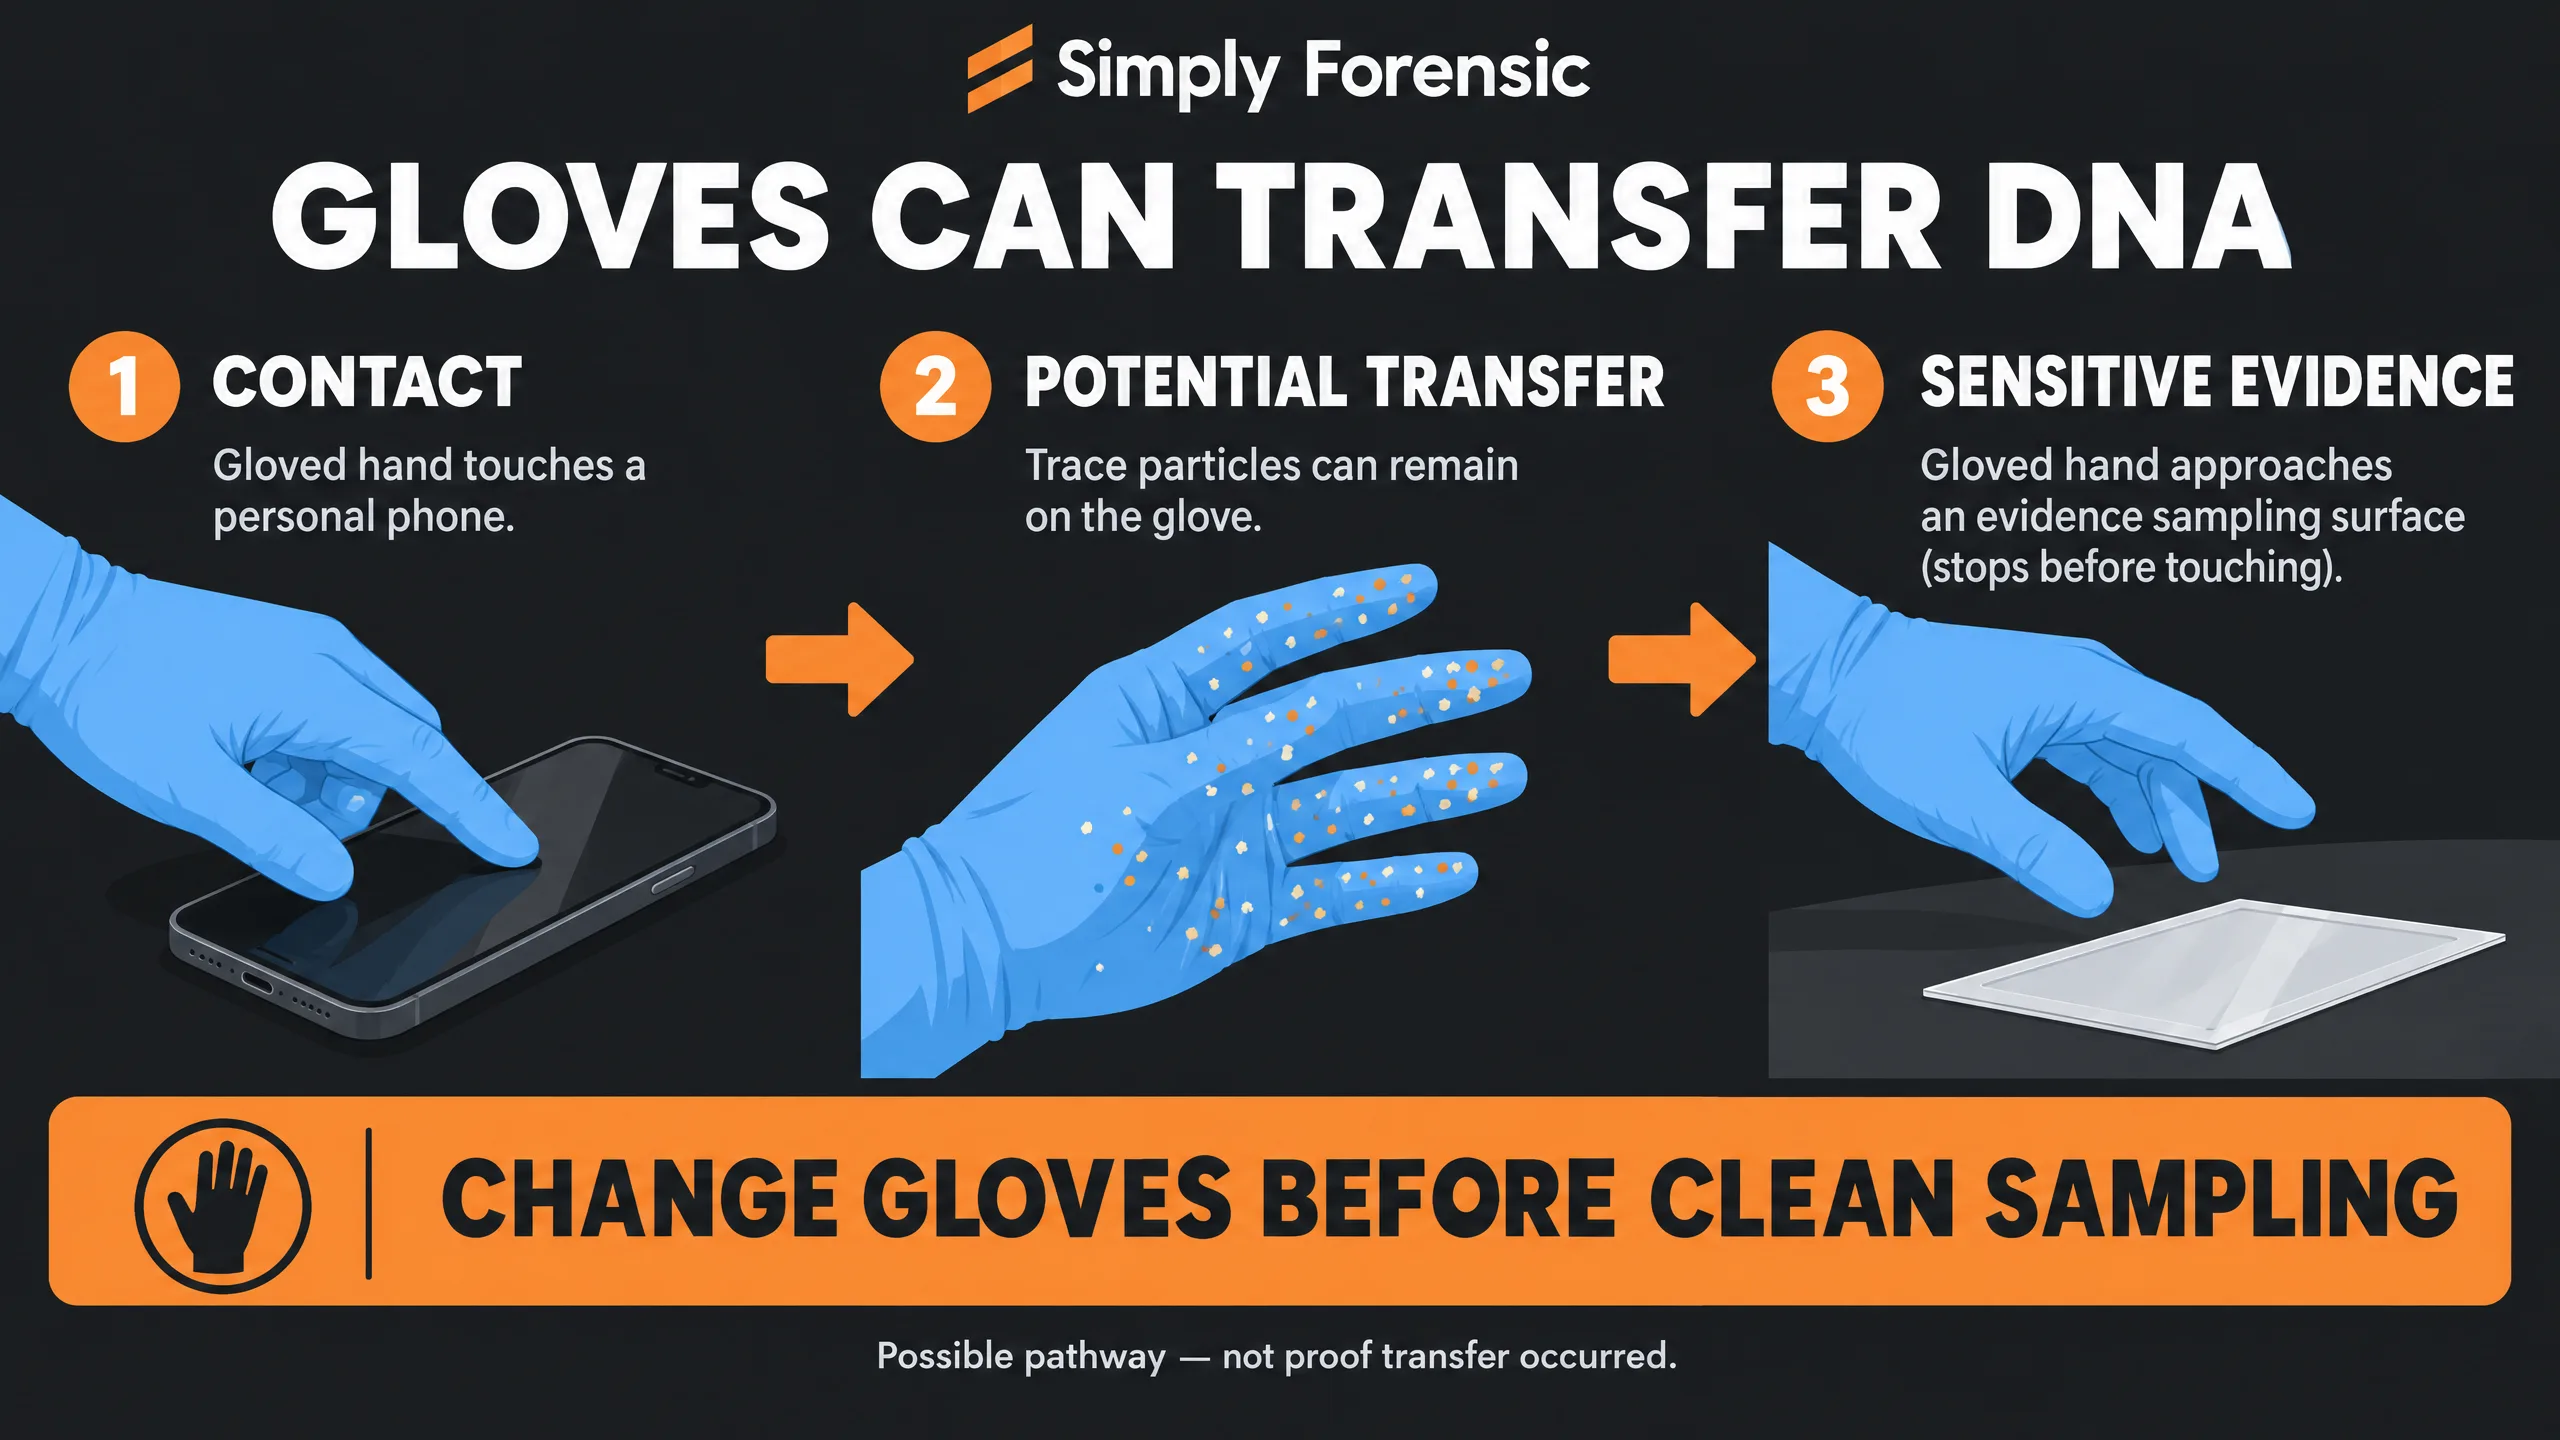
One contamination route is easy to overlook: an investigator touches a camera, door handle, pen or phone with a glove, then handles a low-template DNADNA present at an amount where sampling and amplification variation can substantially affect the detected result for the assay in use. item. Changing gloves before sensitive collection is generally preferable to assuming the outer glove remained clean. The FSR permits outer gloves to be changed or cleaned under a documented process, but the effectiveness of cleaning has to be established for its intended use. Replace compromised or heavily contaminated PPE.[1]
Repeatedly wearing a new pair of gloves while handling the same contaminated camera, case file or collection bench does not solve the problem. Controls must cover both the contact surface and the person. Separate dirty and clean tool storage; do not bring instruments used at a suspect location directly into a complainant area without appropriate processing.
When a disposable tool can do the job without compromising results, it generally simplifies traceability. Reusable forceps, rulers, scales, lamps, tripod feet, stepping plates and similar tools need a validated or demonstrated effective cleaning procedure matched to the relevant contaminant. A rinse that removes visible dirt may not reliably remove amplifiable human DNA. Document cleaning and protect equipment from recontamination during storage and transport.[1][11]
Forensic DNA-grade consumables: what ISO 18385 does and does not mean
Single-use swabs, collection tubes, gloves and packaging materials may be supplied specifically for forensic DNA applications. ISO 18385:2016 sets manufacturing requirements intended to minimize detectable human DNA contamination in relevant products. It does not guarantee that a swab cannot become contaminated after opening or that all contamination risk has been removed. The ISO standard was current at this review: a proposed second edition, ISO/CD 18385.2, was under development, not yet an enacted replacement.[6][7]
Risk controls include confirming product suitability, maintaining batch and supplier information where required, storing kits in protected locations, opening supplies only when needed and never returning exposed supplies to an uncontaminated stock area. Positive supplier documentation does not replace sound field practices; a forensic-grade swab touched by a dirty glove is no longer protected by its manufacturing status.
Collection sequence, linked persons and multiple scenes
Before treatment or swabbing, consider whether processes for DNA, fingermarks, particulate trace material, footwear impressions or chemical residues could compromise one another. There is no universally correct order. For sensitive DNA targets, sampling before some surface treatments may be appropriate, but substrate condition, anticipated analyses, risk of evidence loss and laboratory consultation determine the plan. Record the sequence and reasons.[2][3]
Where feasible, keep suspect, complainant and known-reference material separated during collection, packaging, transport and examination. The same principle applies to different suspects, different vehicles, and locations associated with competing accounts. This separation includes personnel and equipment assignments when the risk merits it. A shared evidence-collection trolley can defeat the purpose of separating people if contaminated items are repeatedly placed on it.
If one officer must attend multiple related scenes, document the order of visits, clothing and PPE changes, equipment segregation and cleaning, and any material handled. For an investigator moving between a blood-rich location and a low-template scene, ‘same day, same uniform’ should be treated as a foreseeable risk requiring specific mitigation rather than a neutral detail.[1][2]
Contamination-control sampling and elimination DNA references
A negative controlIn the context of laboratory testing and quality control, a negative control is a crucial component used to ensure the accuracy and reliability of an assay or experiment. It is a reference sample that should Read Full Definition or background sample can help investigate contamination, but its value depends on how, where and why it was taken. A scene control swab may assess a nearby untouched substrate or a collection process. A positive result does not automatically establish when DNA arrived, while a negative result cannot prove that every item at the scene was free from contamination. Background samples need clear context and documented sampling design.
Staff elimination databases can help identify DNA associated with authorized responders, examiners and other known personnel. Their collection, storage, searching and access must follow applicable consent, privacy, quality and legal rules. A database match may prompt an investigation of contamination or legitimate scene presence; it is not by itself proof of a specific transfer route. In the UK system, the statutory Code of Practice details elimination database governance, including retention, security, consent and search procedures.[1][2]
Control measures should be risk-based and explainable. Taking a control from every surface without a defined purpose may add unnecessary handling. Conversely, failing to document a sampling blankSpecimen or sample not containing the analyte or other interfering substances. Read Full Definition in an unusually contamination-sensitive recovery may leave later questions unresolved. Follow the laboratory’s validated collection and interpretation procedures.
How to respond when contamination is suspected
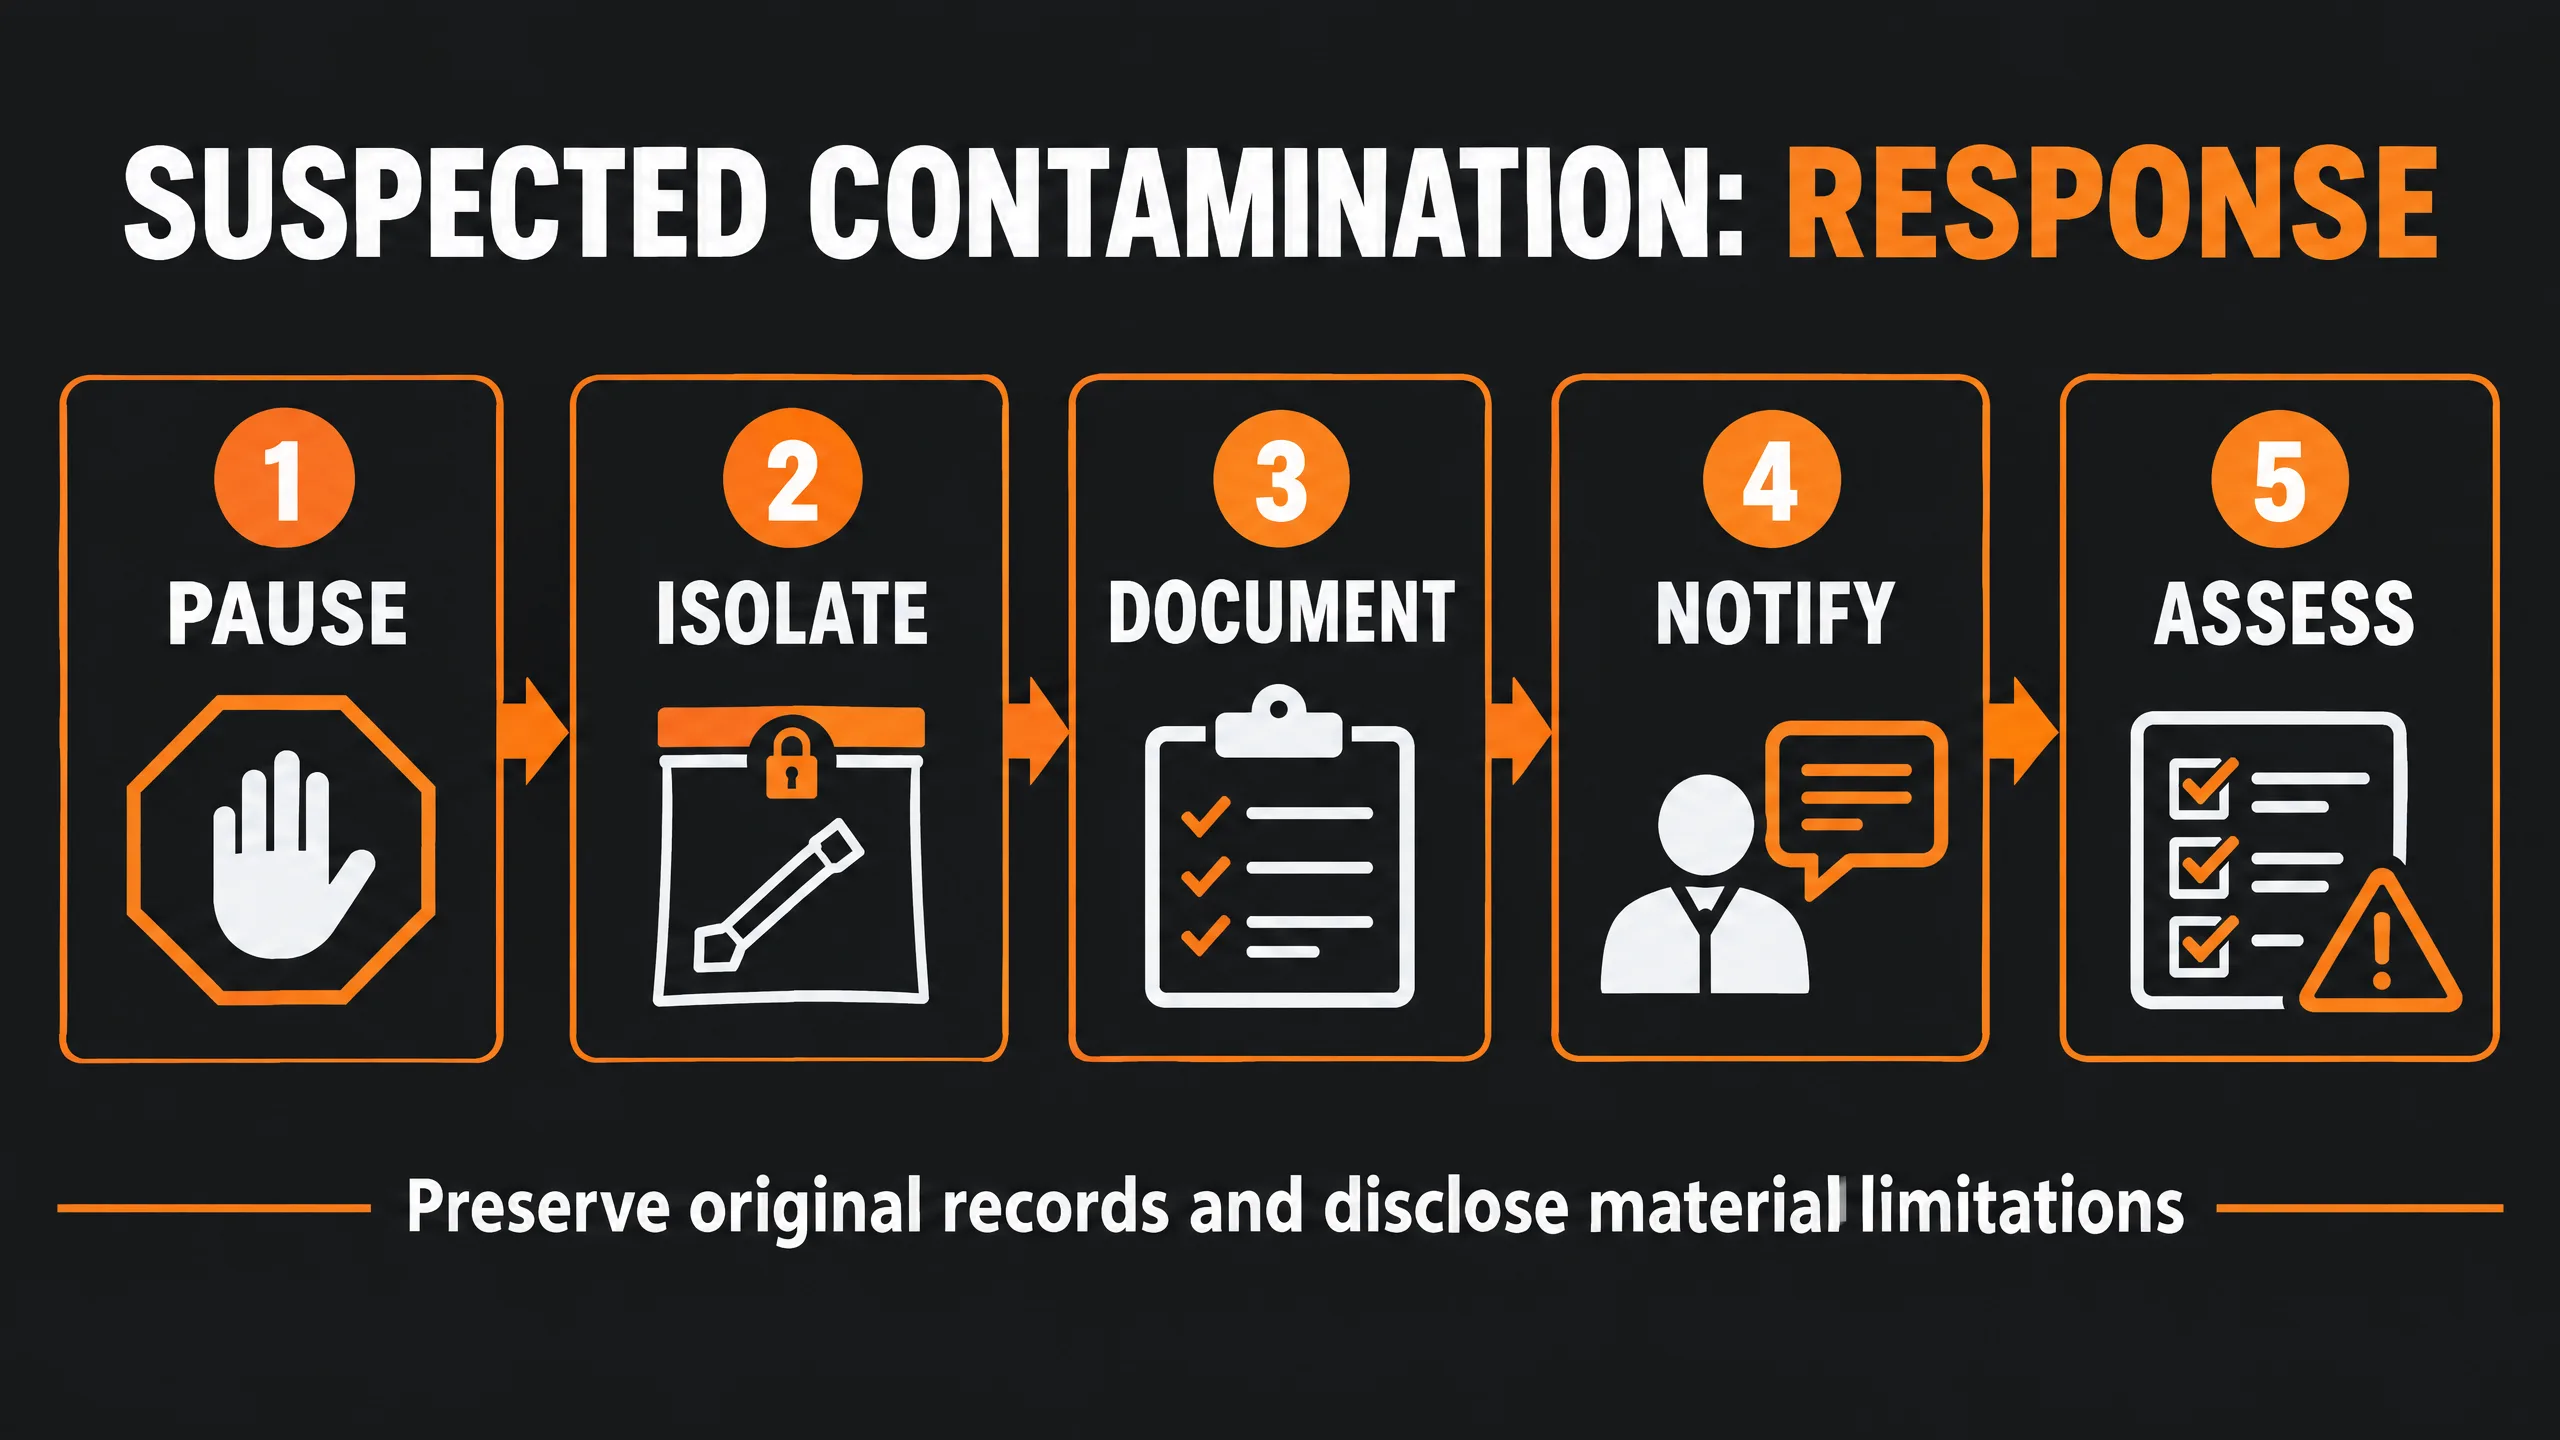
A contamination incident must be recorded rather than quietly ‘corrected’ by discarding a result or changing a narrative. The scene manager should establish what happened and preserve the ability of an independent reviewer to assess its significance. Responses depend on whether the incident involves a dropped swab, damaged barrier, shared gloves, misplaced evidence or unexpected analytical finding.
- Pause the affected activity when safe; prevent further contact or redistribution of potentially affected material.
- Secure the evidence and relevant controls. Keep suspect items and clean supplies separate. Do not silently replace a contaminated exhibit or destroy potentially informative consumables.
- Record the incident promptly: date, time, persons, item IDs, surfaces, tools, transfers, handling sequence, PPE condition and possible affected items.
- Notify the appropriate forensic lead and laboratory according to the agency’s nonconformance and case-management procedures.
- Assess possible routes and scope. Consider direct introduction, glove or equipment transfer, and relevant pre-existing background material. Review scene logs, images, staff movements and cleaning records.
- Evaluate further work only when scientifically and legally appropriate: additional independent sampling, suitable controls, elimination-reference comparison or adjusted interpretation. Preserve all earlier results and records.
- Document the disposition: scientific limitations, corrective action, disclosures needed in reports and preventive changes to the process.[1][2]
Critically, investigators should not treat the absence of a detected contaminant as proof that contamination was impossible. Nor may an unexpected profile simply be assigned to a staff member without a defensible comparison and an analysis of alternative explanations.
Evidence types require different contamination controls
| Potential evidence | Typical contamination risk | Priority control |
|---|---|---|
| Trace or touch DNADNA recovered from a surface or object after contact, which can originate from skin-associated cells or other transferred biological material. | Shedding, glove-mediated transfer, dirty sampling tools | Controlled PPE, dedicated supplies, minimize contact and track handlers |
| Bloodstains / biological material | Cross-contact, aerosolized particles, wet transfer | Separate recovery, controlled drying/packaging and PPE changes |
| Fibers / hair / glass particles | Movement on clothing, footwear or collection tools | Separate work areas, proper bindles and controlled transfer |
| Fingermarks | Accidental deposition or smearing by practitioners | Handle outside areas of interest, document before treatment |
| Footwear and soil traces | Investigator movement introducing or moving particles | Documented approach routes and protection of ground surfaces |
| Fire debris / ignitable-liquid residues | Chemical transfer, contaminated tools or packaging | Clean chemically compatible equipment and approved airtight packaging |
Three hypothetical contamination scenarios with practical decisions
Scenario 1: The gloved examiner answers a phone
Situation: An examiner prepares to swab a door handle, then adjusts a face mask and answers a radio using the same gloves. Potential mechanism: material from non-controlled objects may reach the sampling surface. Appropriate response: recognize the contact before sampling, replace outer gloves and assess whether equipment surfaces also need controlled cleaning. If sampling already occurred, document the contacts and consult the case lead. Interpretation limit: the incident shows a potential route; it does not establish which donor’s DNA, if any, was transferred.
Scenario 2: One evidence officer visits both suspect and complainant scenes
Situation: A team collects clothing at a suspect’s home, then travels to a complainant’s vehicle using the same equipment bag and protective clothing. Potential mechanism: particulate traces or DNA could be carried between originally separate locations. Appropriate response: plan independent personnel and equipment where feasible, keep sealed items separate, change relevant PPE, clean reusable tools using demonstrated effective procedures and document travel and handling. Interpretation limit: later shared traces need evaluation against innocent, activity-related and forensic-transfer possibilities.
Scenario 3: A photographic scale moves between two bloody exhibits
Situation: A reusable scale touches a stained surface and is placed next to a different exhibit. Potential mechanism: direct or indirect redistribution of biological material. Appropriate response: stop using the scale, record both contacts, segregate potentially affected exhibits and notify the manager. Assess cleaning and any justified re-sampling. Interpretation limit: an analytical result cannot simply be edited to exclude the suspected transferred material without documented scientific grounds.
All scenarios are hypothetical teaching examples, not descriptions of actual cases or substitutes for case-specific SOPs.
Field checklist: preventing crime scene cross-contamination
- Has the scene’s contamination risk assessment been recorded and updated?
- Are access routes and any separate scene subzones defined?
- Are unused supplies segregated from recovered exhibits, waste and personal items?
- Does PPE match both the forensic task and the separate occupational hazard assessment?
- Are glove changes triggered by contact risk, not only by visible dirt?
- Have reusable scales, cameras and tools been cleaned and documented appropriately?
- Are suspect and complainant items, references and multiple scene materials separated?
- Has the collection and treatment sequence been considered for competing examinations?
- Are sampling or background controls justified, identified and recorded where used?
- Are deviations, suspected contamination events and corrective actions documented?
Common misconceptions about crime scene contamination
- Myth: gloves prevent all DNA transfer. Gloves can collect and redistribute DNA; their handling matters.[8][12]
- Myth: every unknown DNA profile must be contamination. Pre-existing background DNA, transfer before forensic control and legitimate contacts are alternative explanations.[1][9]
- Myth: a clean-looking instrument is DNA-free. Visible cleanliness does not validate DNA removal.[1]
- Myth: a single negative control proves the entire scene was uncontaminated. Control sampling has a defined, limited scope.
- Myth: one identical PPE rule applies to all scenes. PPE selection must reflect activity-specific trace risks and safety requirements.[1][2]
Frequently asked questions
What is crime scene contamination?
It is the undesirable introduction or redistribution of material that could alter evidence during controlled scene examination or later forensic handling. It must be distinguished from material deposited before investigators arrived, including ordinary background DNA.
Is wearing gloves enough to prevent DNA contamination?
No. Gloves can acquire and transfer DNA from exhibits, phones, masks, cameras and other surfaces. The handling sequence, glove changes, clean tools and zone discipline matter as much as wearing gloves.
Are two pairs of gloves mandatory at every crime scene?
No universal rule applies across all jurisdictions and evidence types. UK FSR guidance recommends double disposable nitrile gloves with a face mask where DNA is being recovered, but actual PPE must also match risk assessment and local procedures.
What is the difference between clean and dirty crime scene zones?
A clean support area is controlled for unused supplies and preparation. A dirty area is designated for used PPE, waste or materials that could transfer traces. A transition boundary controls movement between functions. The exact arrangement is risk-based, not a universal architectural requirement.
Can investigators move from a suspect’s home to a complainant’s vehicle?
Yes when operationally necessary, but the potential transfer route must be anticipated and managed through PPE changes, equipment segregation, cleaning, safe evidence transport and documented movements.
Does ISO 18385 mean a DNA swab is completely DNA-free?
No. ISO 18385:2016 specifies manufacturing controls intended to minimize detectable human DNA contamination. It does not guarantee absolute absence or protect an opened swab from scene-level contamination.
How should a suspected contamination incident be reported?
Document the item, contact surfaces, persons, timing and actions; secure affected material; notify the forensic lead; assess the plausible transfer routes; preserve original findings; and report material limitations as required.
Can a staff elimination DNA match prove contamination?
Not by itself. The match may be relevant, but the person’s legitimate presence, timing, access, and possible direct or indirect pathways must be assessed. Privacy and consent rules also apply to elimination databases.
Can a forensic laboratory always distinguish contaminating DNA from background DNA?
No. Laboratory DNA analysis may identify contributor profiles, but the mechanism and timing of deposition often require additional activity-level information and cannot always be established from the profile alone.
Related Simply Forensic guides
- Crime Scene Investigation: A Comprehensive Guide
- Crime Scene Evidence Preservation and Packaging (companion guide currently in editorial review; link after publication)
- Forensic DNA Contamination Control: A Quality Assurance Guide
- How It’s Done: DNA Evidence Collection
- Trace Evidence in Forensic Science
- The Significance of Chain of Custody
References and authoritative sources
Reviewed on 14 November 2026. U.K. statutory obligations are specific to England and Wales. FSR-GUI-0016 is advisory guidance; the OSAC 2021-N-0018 document is a proposed standard; ISO/CD 18385.2 remains under development. Verify locally applicable protocols and legal requirements.
- Forensic Science Regulator (2023). Contamination Controls: Scene of Crime, FSR-GUI-0016.
- Forensic Science Regulator (2025). Forensic Science Activities: Statutory Code of Practice, Version 2 (England and Wales).
- National Institute of Justice (2013). Crime Scene Investigation: A Guide for Law Enforcement.
- NIST OSAC. OSAC 2021-N-0018: Standard for On-Scene Collection and Preservation of Physical Evidence (proposed standard; in SDO development as checked November 2026).
- ANSI/ASB Standard 195-25 (2025). Standard for Scene Response: Initial Response by Scene Investigators; NIST OSAC Standards Library.
- ISO 18385:2016. Minimizing the Risk of Human DNA Contamination in Products Used to Collect, Store and Analyze Biological Material for Forensic Purposes — Requirements.
- ISO/CD 18385.2 (2026). Revision under development; not a published replacement of ISO 18385:2016.
- Goray M, Pirie E, van Oorschot RAH (2019). DNA Transfer: DNA Acquired by Gloves During Casework Examinations. Forensic Science International: Genetics 38, 167–174.
- van Oorschot RAH, Szkuta B, Meakin GE, Kokshoorn B, Goray M (2019). DNA Transfer in Forensic Science: A Review. Forensic Science International: Genetics 38, 140–166.
- National Institute of Standards and Technology (2013). The Biological Evidence Preservation Handbook: Best Practices for Evidence Handlers, NISTIR 7928.
- National Institute of Justice. Collecting DNA Evidence at Property Crime Scenes: Equipment (archived educational resource).
- Forensic Science International: Genetics (2019). Secondary DNA Transfer by Working Gloves, vol. 43, article 102126.
Educational limitation: This guide explains general forensic quality principles and does not override local scene safety plans, validated laboratory methods, agency SOPs or applicable evidence-retention and privacy rules.